How to Make a Dreamcatcher
Have you been wanting to make a dreamcatcher of your own? This beautiful decoration will make your room look cozier and catch those nightmares.
Go over to https://craftsyhacks.com/diy-dreamcatcher to read the whole article.
Think back to a couple of years ago when dream catchers were all in rage. You would find a dozen of these colorful dream catchers dangling down by every kid and teenager’s bedpost.
But what do you really know about the symbolism and meaning behind them? They’re not just decorative accessories, you know.
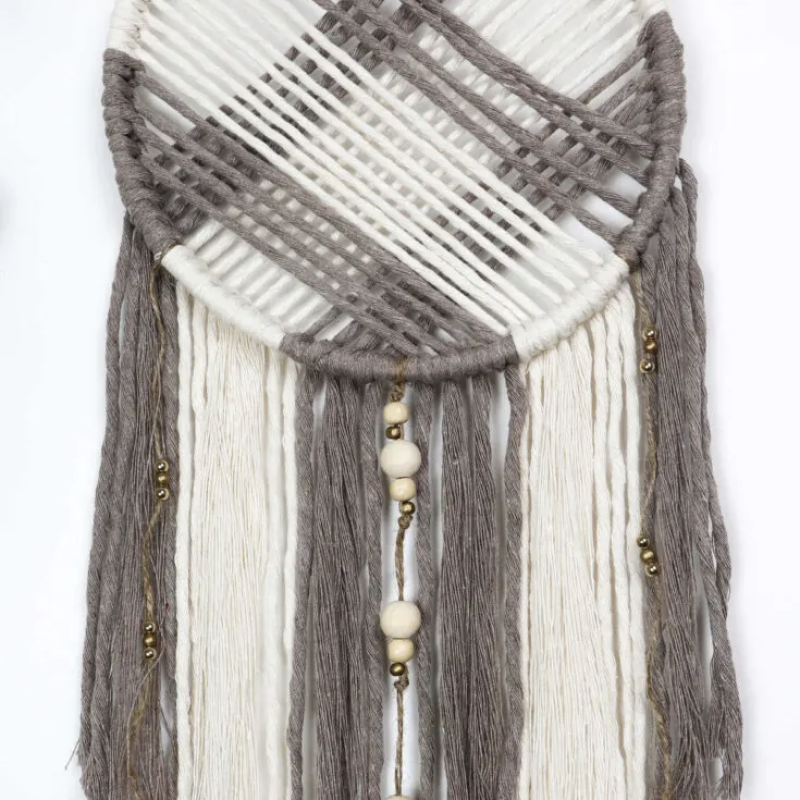
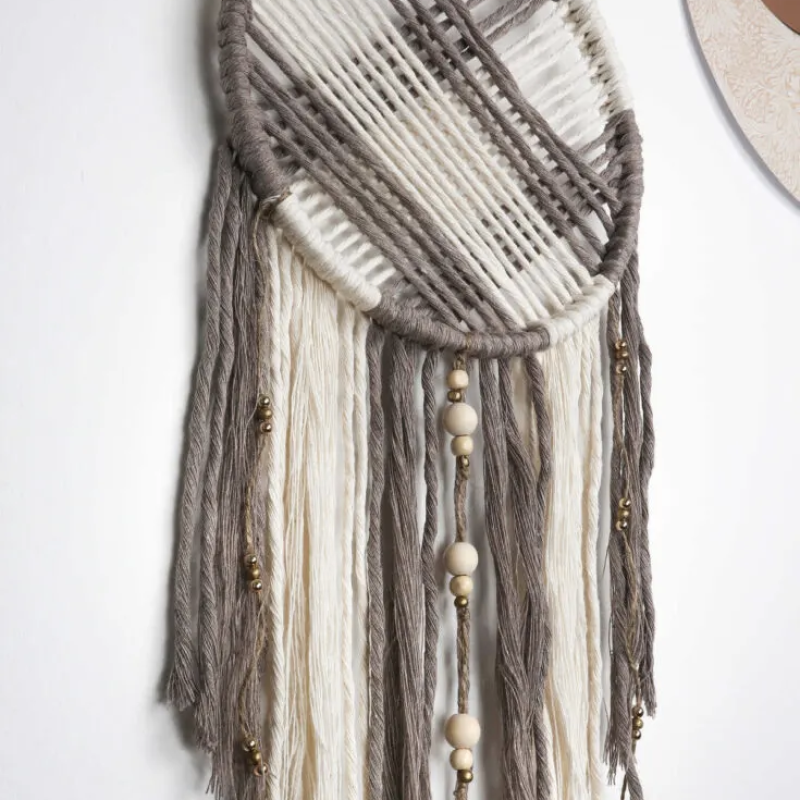
It’s actually one of the most long-standing symbols associated with Native American Literature. The crux of it is this: these talismans, with their circle ring and the woven web in the center, are meant to protect you when you’re at your most vulnerable—asleep.
They’d catch the bad dreams and let the good ones through, ergo the name. So, now that you know about the magic and meaning behind these dreamcatchers let’s take a look at how you can make them!
Supplies and Tools for the Dreamcatcher
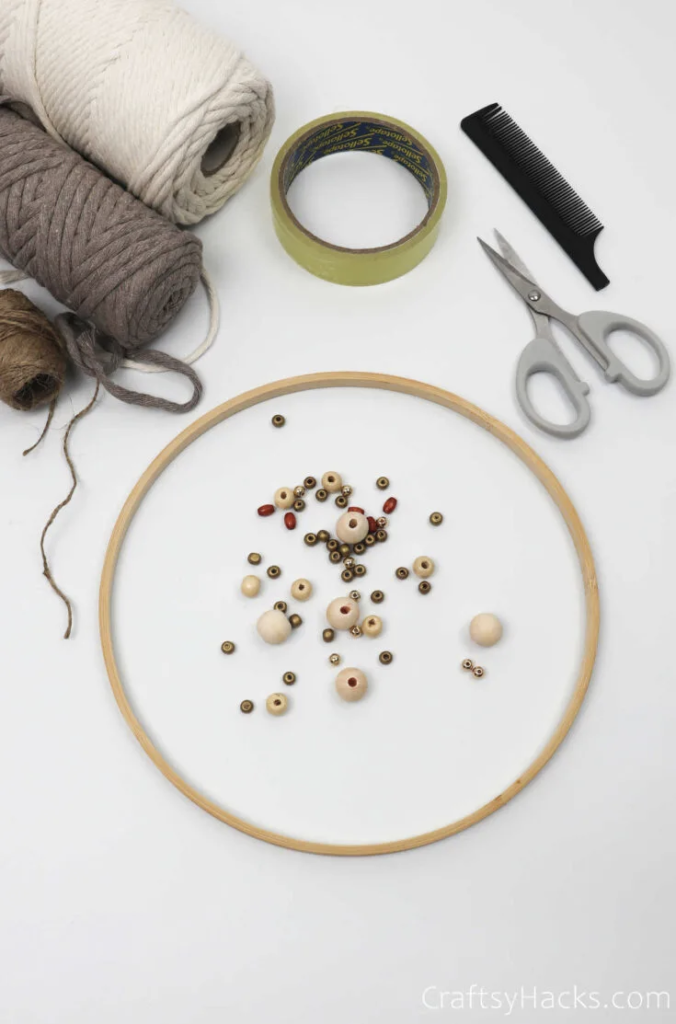
Here’s a list of everything you’ll need for this project:
- Wood hoop (10″-11″)
- 15’’ thick single twist cotton cord (cream and cappuccino)
- Scissors
- Beads
- Hair combs
- Tape (optional)
- Jute twine (optional)
How to Make a Dreamcatcher
Here is a step-by-step tutorial on how to make the dreamcatcher from scratch.
Step 1
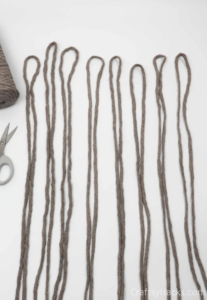
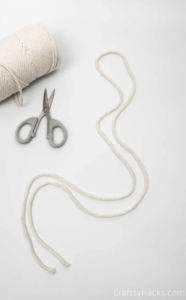
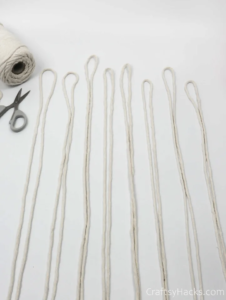
The first step would be to unravel your cord. Then, measure out about sixty inches before you cut it with your scissors. This will be your first string.
You will need eight of them, each measuring sixty inches. Lay them down, as indicated.
Step 2
You’ll need to repeat step 1 with each color of cord you’re using. That means that for this project, you’ll have eight cappuccino-colored cords and eight cream ones.
Step 3
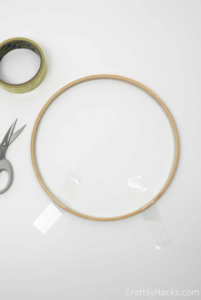
Next, place your hoop or ring on your work surface and tape it in place. This will ensure that the ring doesn’t move around when you’re working. Trust me; you’ll be glad for this step!
Step 4
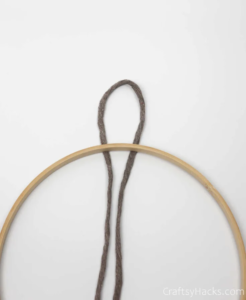
Grab your cappuccino-colored cord and fold it in half before you bring it down and under your hoop.
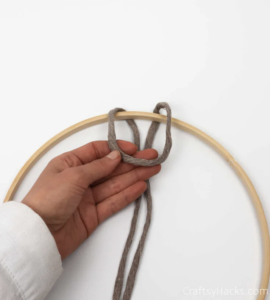
Then, take that loop and bring it over the hoop, so it overlaps the two loose-end bits.
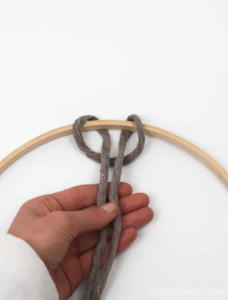
Finally, take hold of the two loose ends of your cord and bring them through the loop.
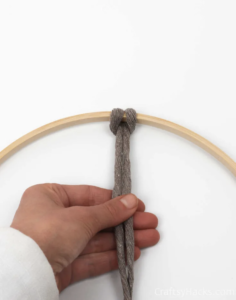
Tug the ends firmly to tighten the knot and create a knothead, as shown here. Voila! You’ve got your first knot on the ring. Remember this process as you’ll be repeating it around the ring.


